
Bird Watcher: Creating the low poly birds
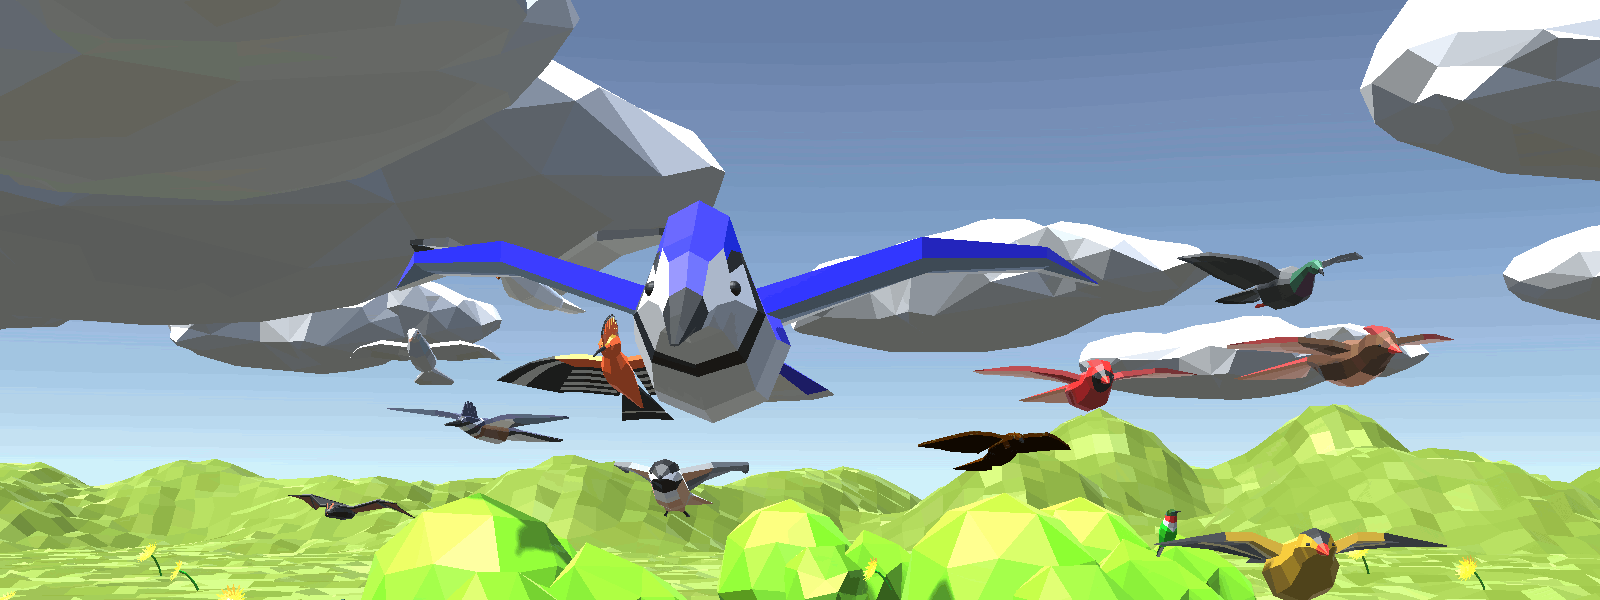 Bird Watcher has a unique stylized low poly throwback style that would feel appropriate for mid 1990s console video games. In this article, I outline the process I used to create these models in blender.
All the games I am developing are exploring new skills. In Bird Watcher, the modelling of the birds themselves was one of those things that was brand new to me. I could have purchased a low-poly asset package, and it would have been faster and maybe more attractive. By creating the art myself, I created a unique feel to the game. In the end, I think it helped define the feel of the game, and give it more character.
Let’s look at the creation of the bird that became the mascot for Bird Watcher, and was the first bird I modelled, the blue jay. This post is not intended to be a tutorial on how to properly make low poly birds. In reality, I probably did a ton wrong. This is probably full of anti-patterns. But I thought some people might be interested anyway..
We start from a reference. Actually, in most cases I use many references. Flying and sitting from the side and top where possible. But for this, we are going to use this quick sketch I made.
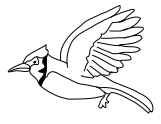
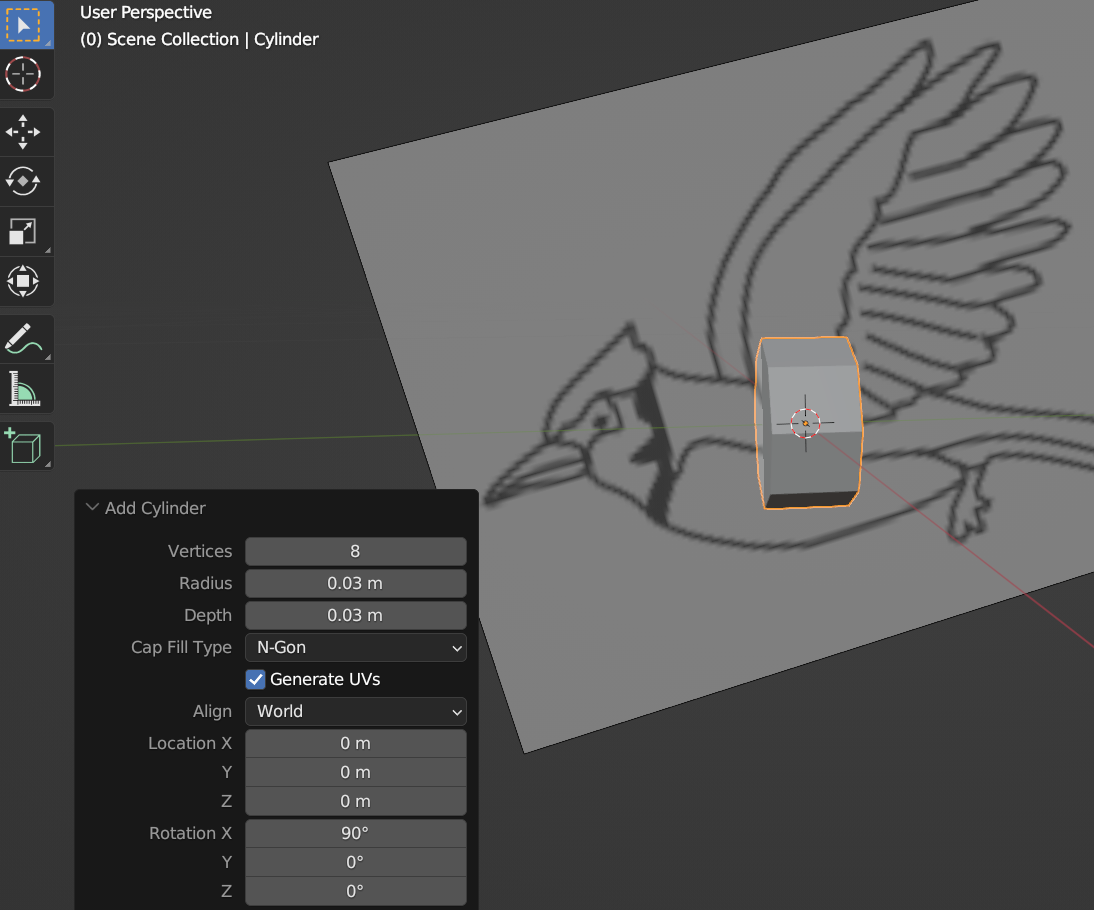
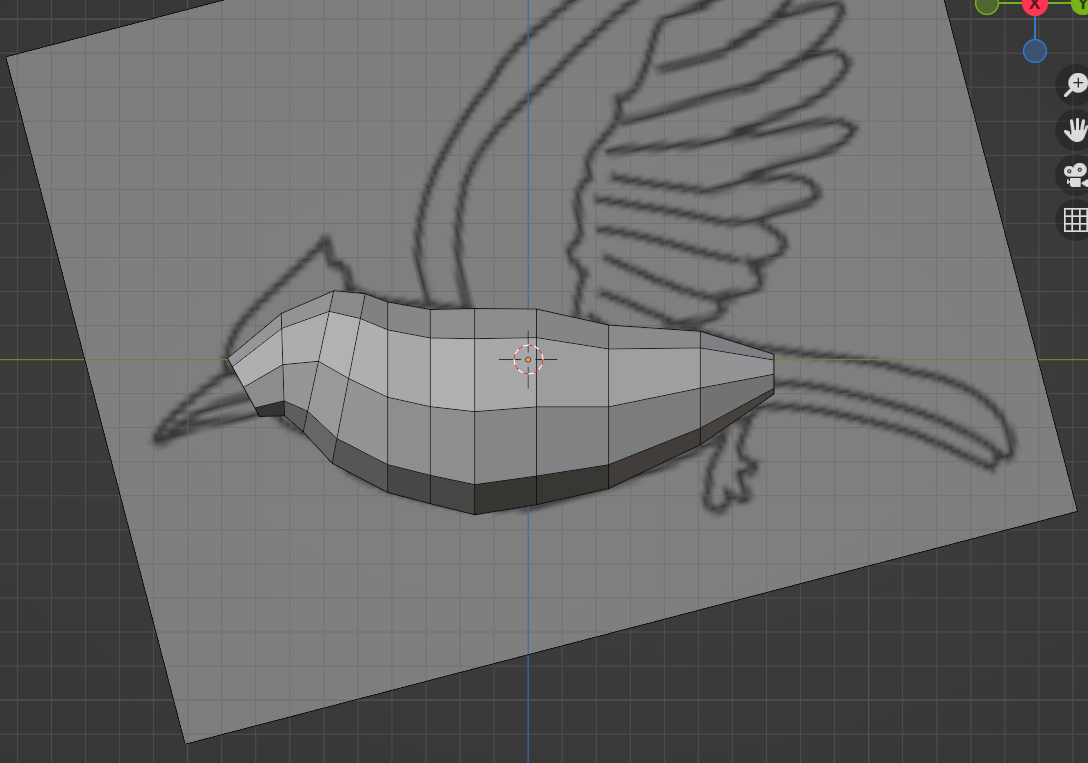
The important thing is this defines the shape we want for the body, and the important proportions: tail, wings, beak and crest. The first step is to bring this into blender as a reference image. We align it to our axis and will use this to model.
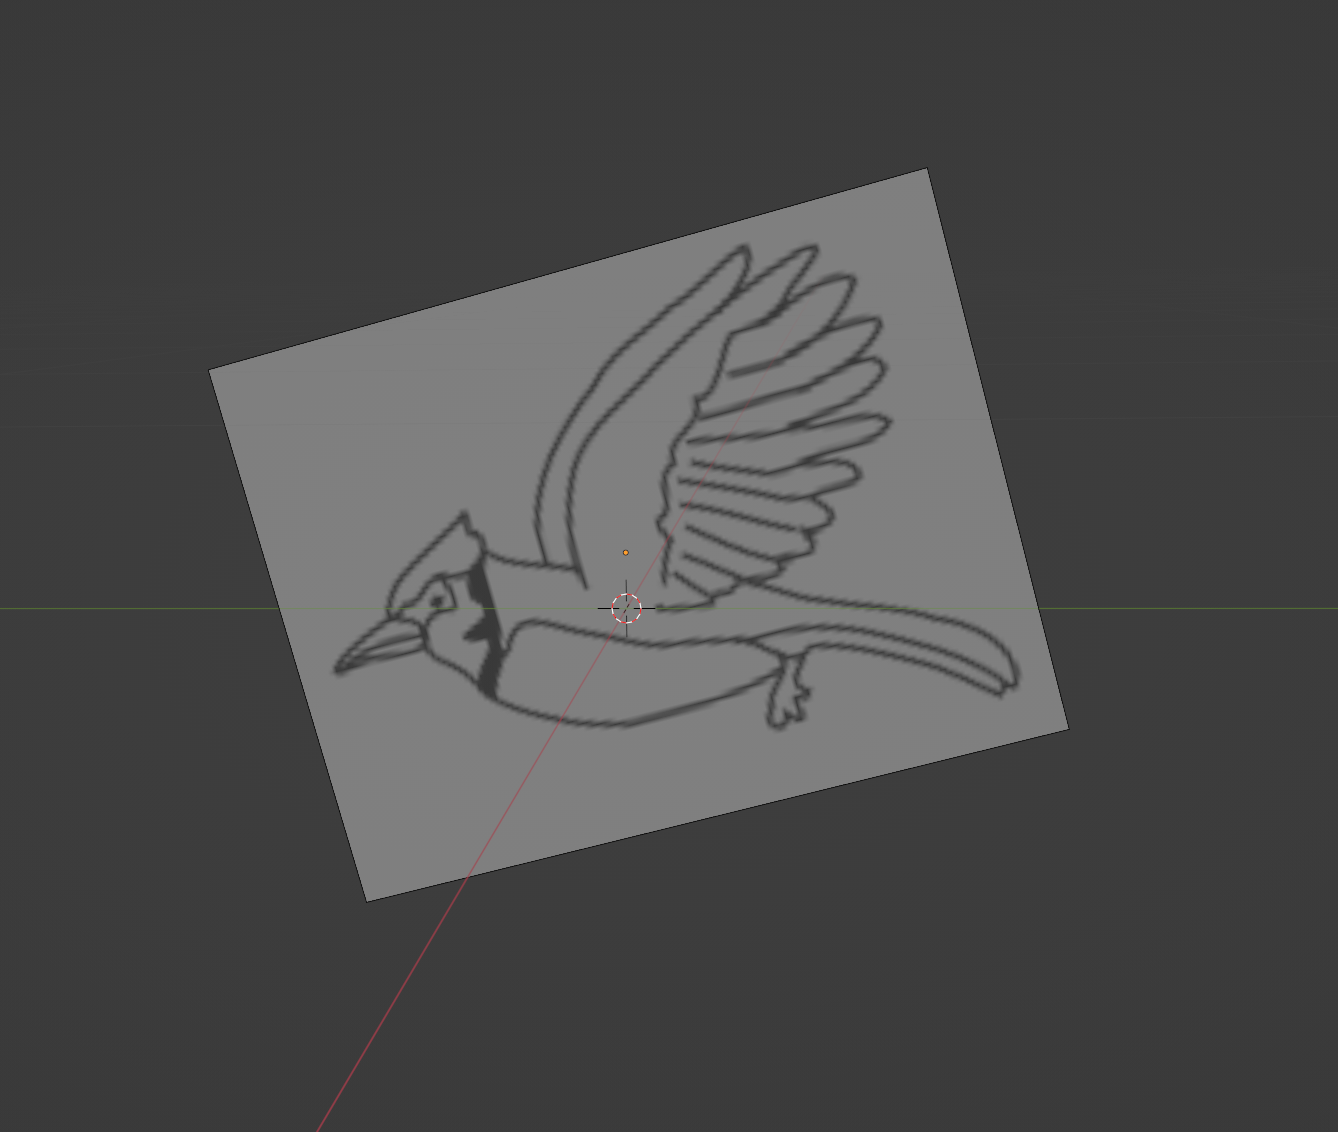
We will add a cylinder, with 8 vertices, and resize it to a reasonable starting point. So I set it to 0.03m in both dimensions and rotate it 90 degrees in x. We want one of the edges to be running along the spine of the bird.
Go into edit mode and get the cylinder positioned and scaled how you want. We are going to create the body using mostly the following:
- Extrude the outside face. (e)
- Scale the face to the size to match the profile. (s)
- Move the face to align. (g)
- Rotate the face. (r)
If you need to go back and refine the profile later you can grab a loop of edges and manipulate it as before.
We now have a complete body until the tail and the beak. To form these 2 shapes, we will use the same approach, but scale on specific axis to form these. In the end, we get something like this.
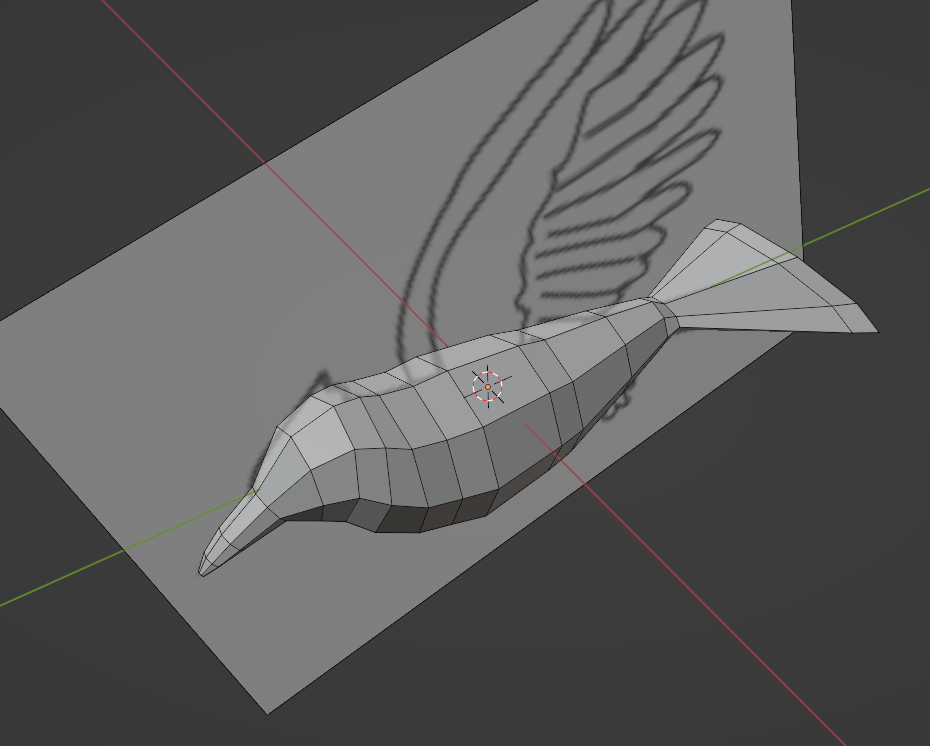
Next we are going to start building the wings and the crest. We want to maintain symmetry, so we are going to use a mirror operator. In order to do this, we will knife cut the center line on the end caps (tail and beak), and then dissolve half the bird and apply the mirror modifier.
Once the mirror modifier is in place, we will shape the wing. Knife cut the side faces in half to make a space to extrude the wing. Extrude, scale, move and rotate as before.
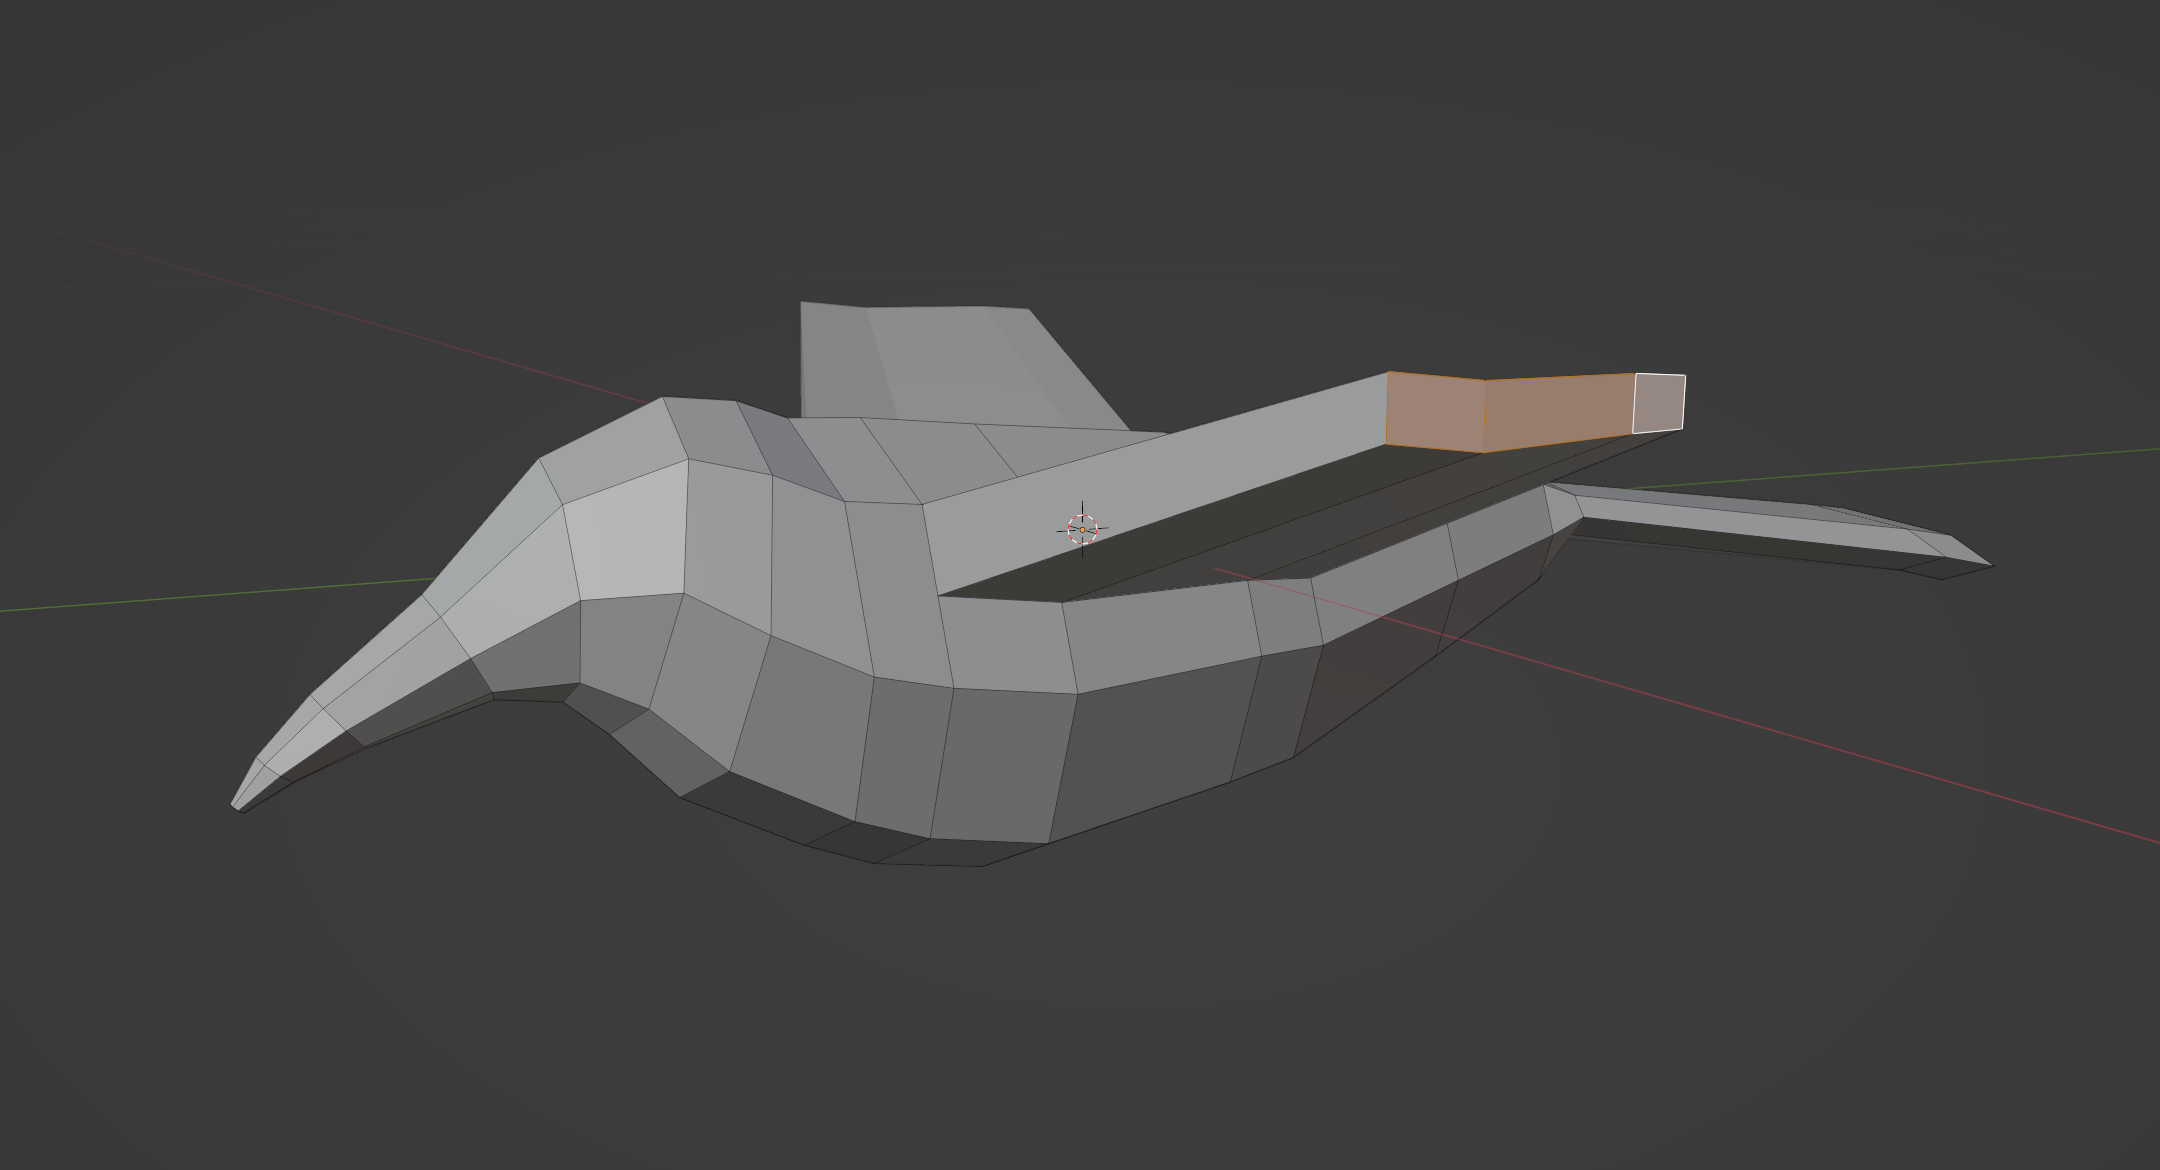
We create a final shape stylized shape of bird wing.
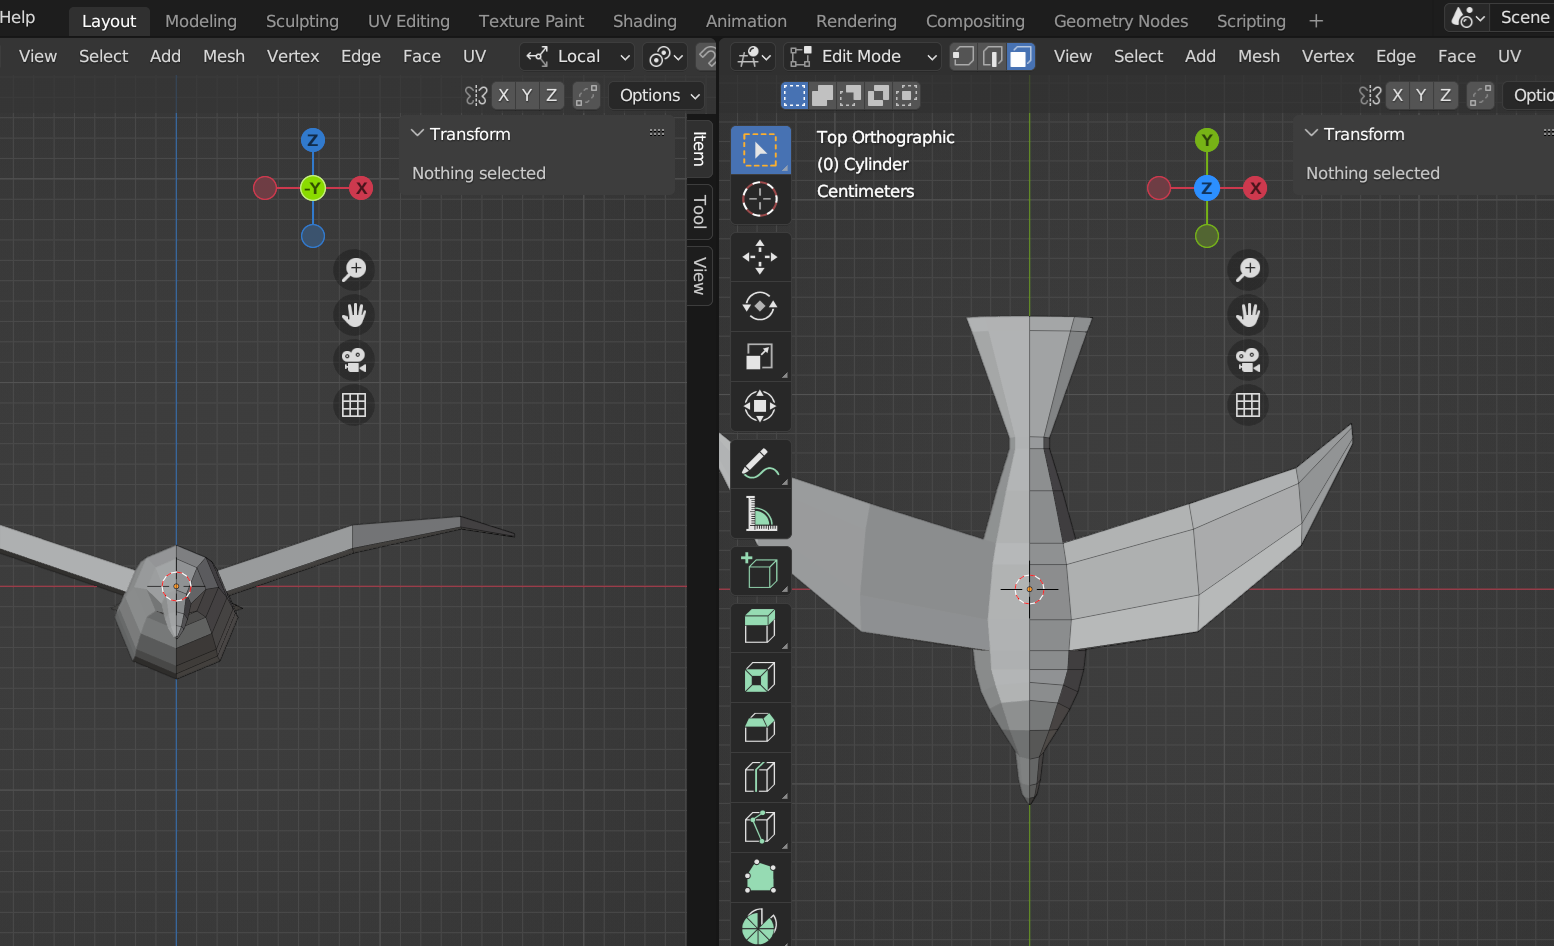
The final modelling work is to shape the crest and the eye. This is again not accurate, but I liked how it looked.
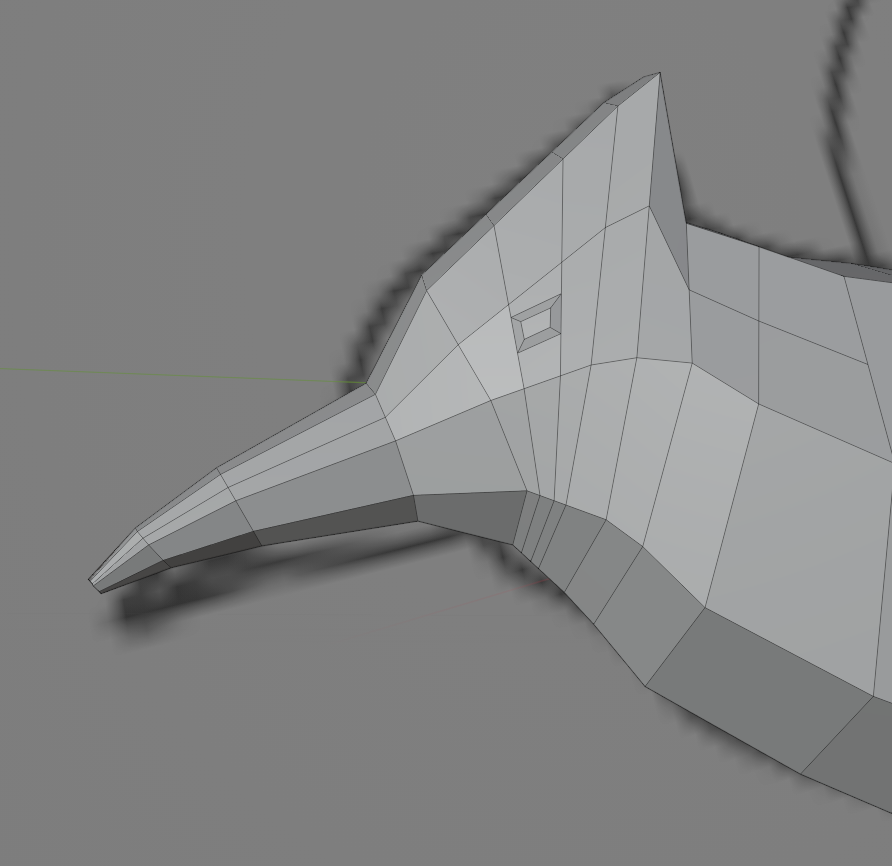
My approach to painting the bird was to do solid colours along the faces. So I assign a small number of colours to give the recognizable markings of the bird. You can subdivide faces using the knife or loop cut as needed.
The finished bird looks something like this.
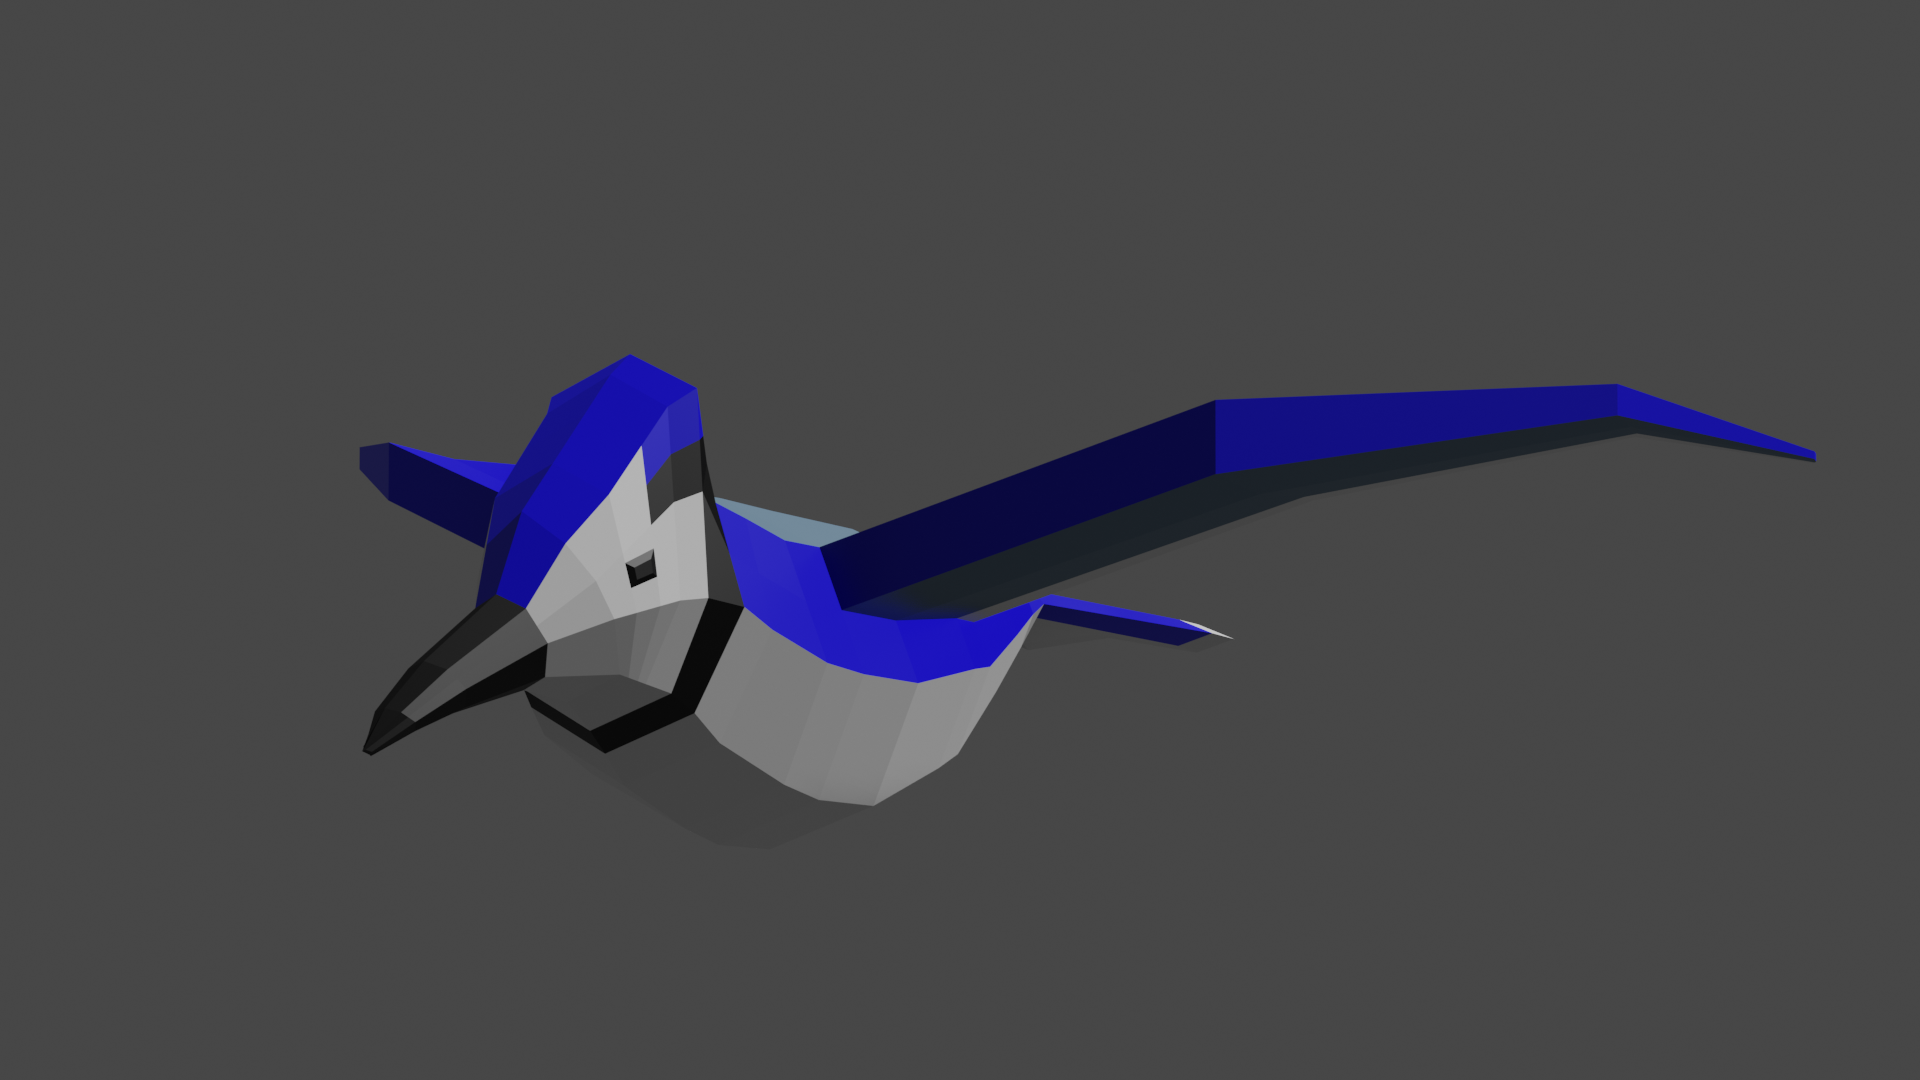
It is different from the model used in the game (I made it while writing this post). I hope this gave you some insight into how I made the birds in Bird Watcher. It may also have been an exercise in remembering how I did it for myself as I just could be trying to model some new birds right now.
I will be posting more of these in the future for Bird Watcher and other Ian Harrower Games games.